I have made a VU meter using an ISP addressable LED strip. The project is made based on the project done by Jeremy Blum. See the video tutorial here. The rest of the his arduino series is excellent.
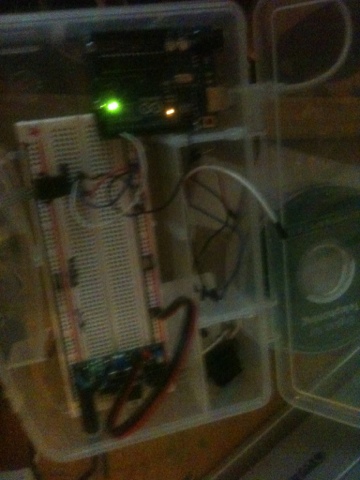
The electronics I have used are the same. This is a basic amplifier circuit that keeps only the peaks of the sinusoidal audio signal.
The code his tutorial produces gives a piece of code that has the LED change colour depending on the level of the audio output. The colour then moves down the LED strip at a fixed rate.
My code takes the signal level from the audio and converts it into a certain number of illuminated LEDs. Giving a VU meter effect. The code I used, which was barbarically adapted from Jeremy´s is below:
//Basic VU meter by Cameron Stewart http://hackingismakingisengineering.blogspot.com/2012/09/vu-meter-using-adafruits-led-strip.html
//Based on Jeremy Blum´s Design available at http://www.jeremyblum.com/2011/12/25/tutorial-14-for-arduino-holiday-lights-and-sounds/
//SPI Library
#include "SPI.h"
//Include Library for LED strip using Ada fruit´s library
#include
//Analog Audio Input Pins - from OPamp circuit.
int left_channel = 0;
int right_channel = 1;
//Light Control Pins
int light_data = 2;
int light_clk = 3;
//Setup Strip Constants
const int length = 32;
const int half = length;
//Creat strip object from Object Library
LPD8806 strip = LPD8806(length, light_data, light_clk);
//Initialise strip array.
uint32_t strip_array[length];
void setup()
{
//Start serial for debugging
Serial.begin(9600);
//Fill pixel arrays with zeros
for(int i=0; i{
strip_array[i] = 0;
}
//Initialize Strip
strip.begin();
strip.show();
}
void loop()
{
//Uncomment this section to open the serial window for debugging
//Serial.print("left: ");
//Serial.print(analogRead(left_channel));
// Serial.print("right: ");
// Serial.println(analogRead(right_channel));
//Determine power level
int power = map(analogRead(right_channel), 0, 800, 0, 32);
Serial.println(power);
//Original Strand test function that came with the LED strip
//colorChase(strip.Color(127, 127, 127), 10); // White
//My new VU function
uvMeter(strip.Color(127, 127, 127), power); // White
//Display the new values
strip.show();
delay(0);
}
void uvMeter(uint32_t c, int pow) {
int i;
// Start by turning all pixels off:
for(i=0; i// turn on all pixels below the peak level
for(i=0; i<=pow; i++) strip.setPixelColor(i, c);
// Display LEDs
strip.show();
}
void colorChase(uint32_t c, uint8_t wait) {
int i;
// Start by turning all pixels off:
for(i=0; i// Then display one pixel at a time:
for(i=0; istrip.setPixelColor(i, c); // Set new pixel 'on'
strip.show(); // Refresh LED states
strip.setPixelColor(i, 0); // Erase pixel, but don't refresh!
delay(wait);
}
strip.show(); // Refresh to turn off last pixel
}
After the first iteration I plan to add a few more features to the code to make the effect a little more tidy. Future improvmentes:
- Dynamic ranging - to make use of the full LED strip.
- Double/Triple sampling - to clean up the signal a bit
- A top cap bar - similar to the effect in modern stereo VU meters
- Stereo support
- Frequency filtering.